Install the OpenAI API on Windows using Python. Step-by-step guide covers getting your API key, installing the library with pip, setting environment variables, and making your first API call.
Protect your privacy when using AI apps like ChatGPT or image generators. Learn how to control your data input, understand policies, and use tools safely.
Optimizing your WordPress blog posts for On-Page SEO in April 2025 is a crucial step in increasing their visibility on Google and attracting more readers in India and globally. By focusing on these key elements, you can significantly improve your chances of ranking higher in search results and reaching your target audience effectively
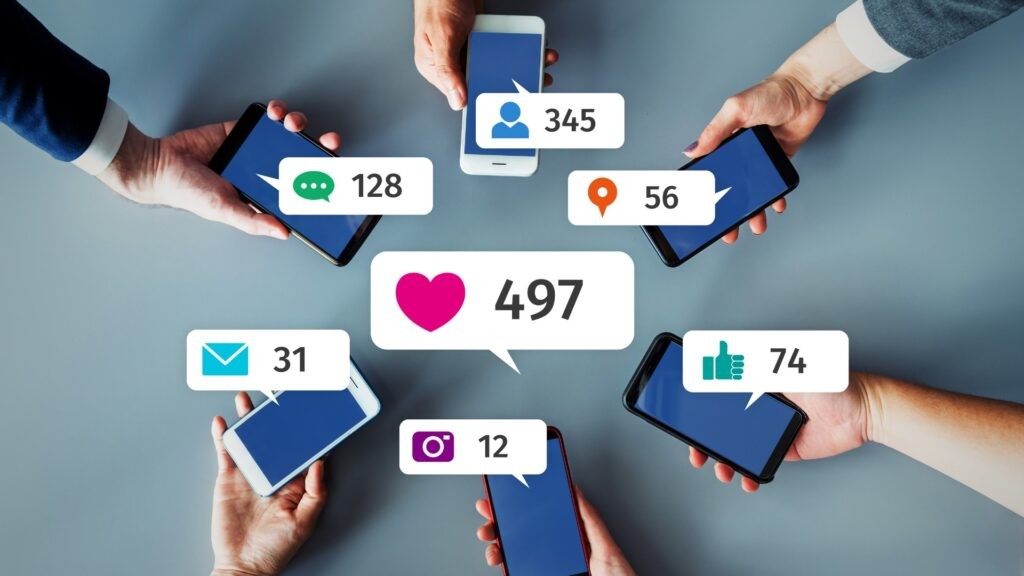
Using AI for social media content creation in April 2025 can significantly streamline your workflow and help you generate content faster. By following these steps and always ensuring human review and personalization, you can leverage the power of AI to enhance your social media marketing efforts.
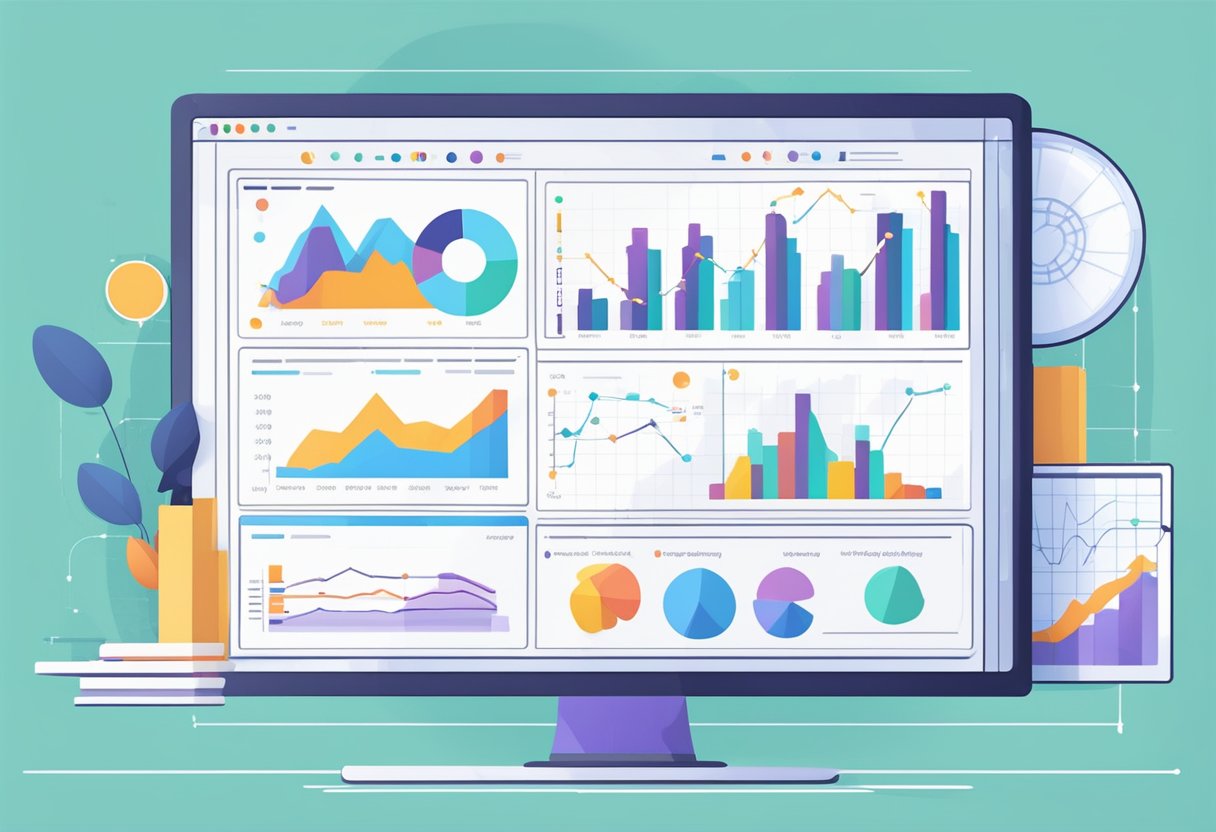
Tracking digital marketing metrics using Google Analytics 4 in April 2025 is essential for understanding the effectiveness of your online efforts. By following these steps and exploring the various reports and features within GA4, you can gain valuable insights into your website traffic, user engagement, and conversions, allowing you to make data-driven decisions and optimize your digital marketing strategy for success.
Doing influencer marketing without a big budget in April 2025, particularly in the Indian context, requires a strategic and resourceful approach. By focusing on micro-influencers, offering creative collaborations, and building genuine relationships, you can effectively leverage the power of influence to reach your target audience and achieve your marketing goals without significant financial investment.


.jpg)