Master the latest AI technology of 2026. Learn how to build agentic workflows, use multimodal AI, and automate complex tasks with this expert how-to guide.
Learn how to update your Android device with the January 2026 Google System Update. Step-by-step guide to improve security, fix bugs, and optimize performance.
Master your iPhone’s tactile experience with our guide on how to use the Clicks keyboard case. Learn setup, shortcuts, and pro tips for the iPhone 16 and 17.
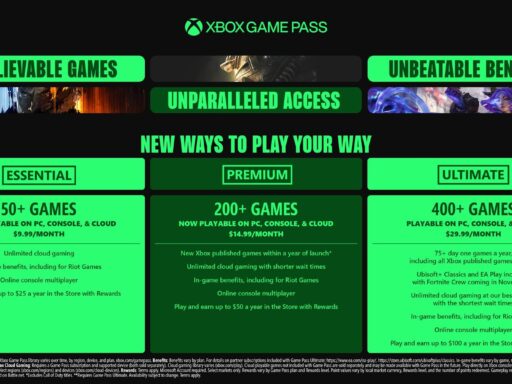
Microsoft revamps its Xbox Game Pass subscription service, introducing Essential, Premium, and Ultimate tiers. Learn about the new prices and features for each plan.
Thinking of a new iPhone? Reports suggest the standard iPhone 17 will get major upgrades like a 120Hz display, making it a better value choice than Pro models.
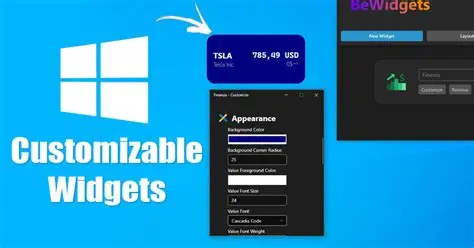
Customize your Windows 11 Widgets! Learn how to add, manage, and explore third-party widget alternatives to personalize your desktop experience beyond Microsoft's offerings.
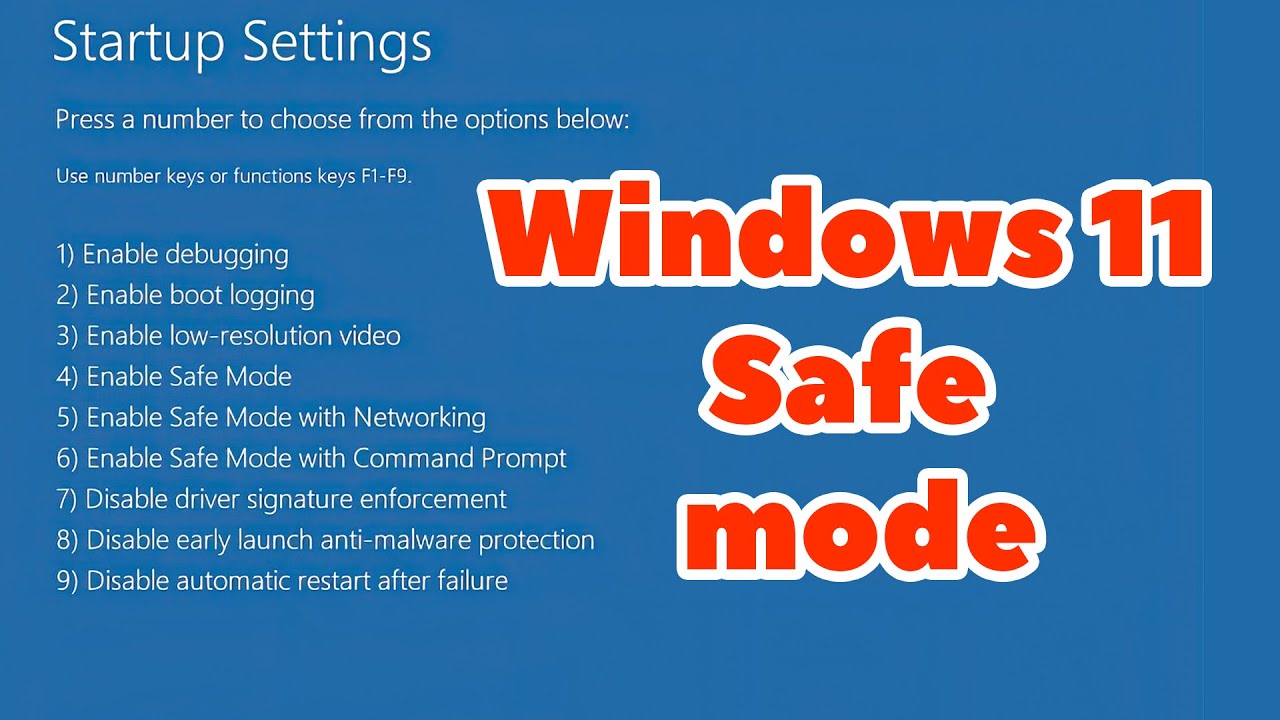
Learn how to boot Windows in Safe Mode! This guide covers multiple methods for Windows 10/11, including Settings, Login Screen, and unbootable PC scenarios.
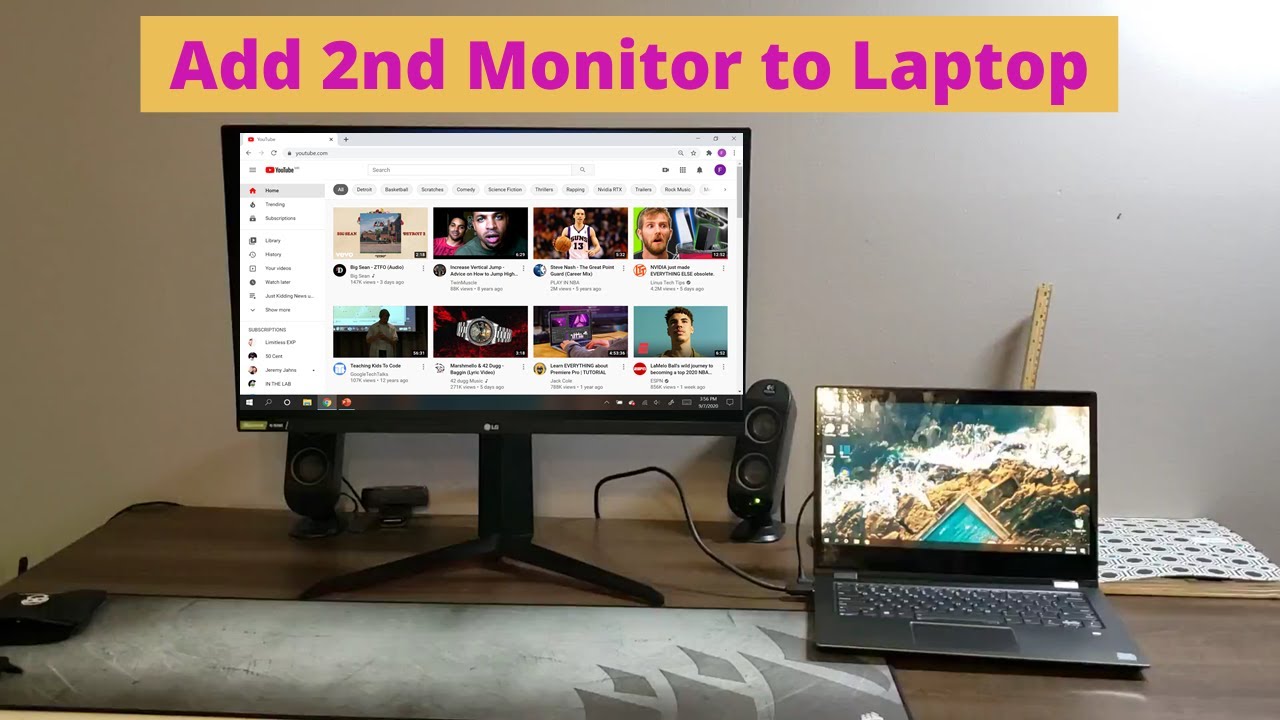
Transform your laptop into a second monitor! Discover wireless (Miracast, Project to this PC) and software-based solutions for extended desktop productivity.
Learn step-by-step how to configure a static IP address in Windows 10 or 11. Enhance network stability for servers, printers, or specific device needs.