Want to experience the thrill of PC gaming without emptying your wallet? Building your own custom gaming rig is the answer. It allows you to tailor your machine to your specific needs and budget, offering better performance per dollar than pre-built systems. I’ve personally guided many friends through their first PC builds, and the satisfaction of playing games on a machine you built yourself is truly unique. This guide will walk you through each step, making the process clear and manageable, even if you’re a complete beginner.
Step 1: Planning Your Budget
Before you even think about components, the first crucial step is to set a realistic budget. Decide how much you’re willing to spend in total. This will heavily influence your component choices. Consider what kind of games you want to play and at what settings. Newer, more demanding games will require a more powerful (and potentially more expensive) setup. Be honest with yourself about your financial limitations and stick to your budget as closely as possible.
Step 2: Choosing Your Components Wisely
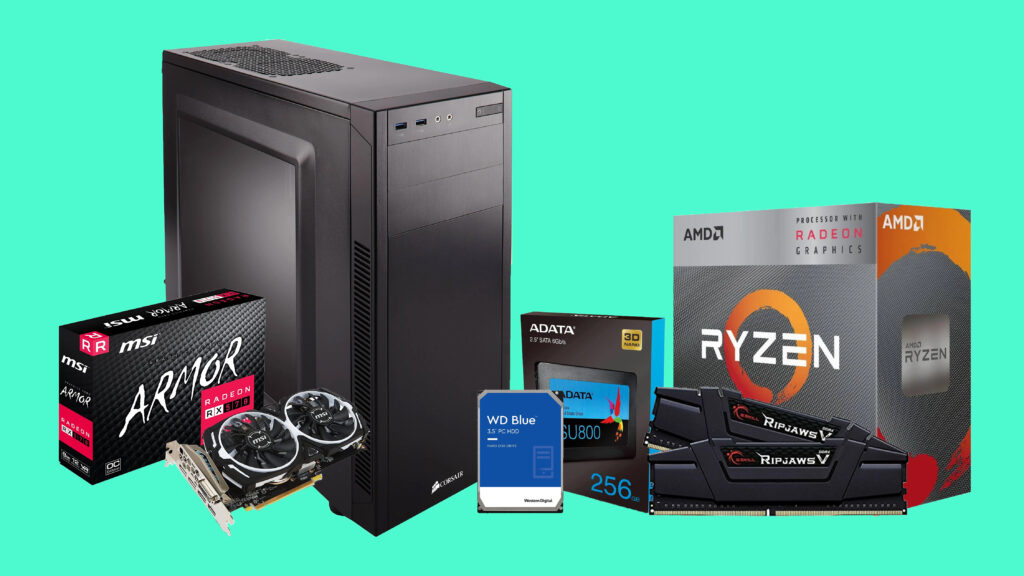
This is the heart of the build. Let’s break down the essential components and how to choose budget-friendly options:
CPU (Central Processing Unit)
The CPU is the brain of your PC. For budget gaming, look for CPUs that offer a good balance of cores and clock speed. AMD Ryzen CPUs often provide excellent value for money in the budget to mid-range category. Intel Core i3 or lower-end i5 processors can also be viable options depending on current pricing and sales. Research benchmarks for the games you want to play to see which CPUs offer sufficient performance.
GPU (Graphics Processing Unit)
The GPU is arguably the most important component for gaming. It handles rendering the visuals you see on screen. Again, AMD Radeon and NVIDIA GeForce both offer budget-friendly options. Look for cards with enough VRAM (Video RAM) to handle the textures in your games. Research specific models based on your target resolution (1080p or 1440p) and desired frame rates. Often, buying a slightly older but still capable GPU can save you significant money. Keep an eye out for deals on previous-generation cards.
Motherboard
The motherboard is the backbone that connects all your components. It needs to be compatible with your chosen CPU (check the socket type). For a budget build, a basic ATX or micro-ATX motherboard with the necessary ports and features will suffice. You don’t need to splurge on high-end features you won’t use. Ensure it has enough RAM slots, PCIe slots for your GPU, and SATA ports for storage.
RAM (Random Access Memory)
RAM is essential for multitasking and smooth gameplay. For a budget gaming PC, 16GB of DDR4 or DDR5 RAM (depending on your motherboard) is generally recommended. Faster RAM speeds can offer a slight performance boost, but it’s often not the most significant factor for budget builds. Look for reputable brands and ensure the speed is compatible with your motherboard.
Storage (SSD and/or HDD)
For gaming, a Solid State Drive (SSD) is highly recommended for your operating system and frequently played games. This will drastically improve boot times and loading speeds. A 500GB or 1TB SSD is a good starting point. If you need more storage for a large game library, consider adding a larger capacity Hard Disk Drive (HDD) as a secondary drive. HDDs are much cheaper per gigabyte but significantly slower.
Power Supply Unit (PSU)
The PSU provides power to all your components. It’s crucial to choose a reliable PSU with enough wattage to handle your system’s power draw, with some headroom for future upgrades. Use an online PSU calculator to estimate your system’s power requirements based on your chosen components. Opt for a reputable brand with good reviews. A bronze-rated PSU is usually a good balance of efficiency and affordability for a budget build.
PC Case
The PC case houses all your components. Choose a case that is compatible with your motherboard size (ATX or micro-ATX) and has adequate airflow to keep your components cool. Budget-friendly cases are readily available and often come with basic fans. Consider future upgrades when selecting a case; ensure it has enough space for larger GPUs or additional drives if needed.
Step 3: Finding the Best Deals
Once you have a list of your desired components, the next step is to shop around for the best prices. Here are some strategies:
- Compare Prices: Check prices on multiple online retailers (e.g., Amazon, Newegg, local PC stores).
- Look for Sales and Discounts: Keep an eye out for seasonal sales events like Black Friday or Cyber Monday. Retailers often have regular discounts on PC components.
- Consider Used or Refurbished Parts: For certain components like the case or even the GPU (from reputable sellers), you might find significant savings on the used market. However, be cautious and do your research before buying used hardware.
- Bundle Deals: Sometimes retailers offer bundle deals that can save you money when buying a CPU and motherboard together, for example.
Step 4: Preparing for the Build
Once all your components have arrived, it’s time to prepare for the build process.
- Gather Your Tools: You’ll need a Phillips head screwdriver (magnetic is helpful), cable ties or Velcro straps for cable management, and an anti-static wrist strap to prevent electrostatic discharge (ESD) which can damage sensitive components.
- Find a Clean and Well-Lit Workspace: Choose a spacious area where you can comfortably work without distractions. Good lighting is essential for seeing what you’re doing.
- Refer to Manuals: Keep the manuals for all your components handy. They contain valuable information about installation and compatibility.
Step 5: Assembling Your Gaming PC
This is where the magic happens! Take your time and be careful. Here’s a general step-by-step guide:
- Install the CPU on the Motherboard: Carefully align the CPU with the socket on the motherboard and gently lower the retention arm.
- Install the CPU Cooler: Apply thermal paste to the top of the CPU (if it’s not pre-applied to the cooler) and securely mount the CPU cooler.
- Install RAM: Open the clips on the RAM slots and firmly push the RAM sticks into place until they click.
- Mount the Motherboard in the Case: Install the standoffs in the case (if necessary) and then carefully screw the motherboard into place.
- Install the GPU: Locate the primary PCIe x16 slot on the motherboard, open the retaining clip, and firmly insert the GPU until it clicks into place.
- Install Storage Devices: Connect your SSD and/or HDD to the appropriate bays in the case and connect the SATA data and power cables.
- Install the Power Supply: Place the PSU in its designated area in the case and screw it in. Connect the necessary power cables to the motherboard, GPU, and storage devices. Refer to your PSU and component manuals for correct connections.
- Cable Management: Neatly route and tie down all the cables to improve airflow and aesthetics.
- Connect Peripherals: Connect your monitor, keyboard, and mouse.
Step 6: Installing the Operating System and Drivers
Once the hardware is assembled, it’s time to install the operating system (like Windows or Linux). You’ll need a bootable USB drive with the OS installation files.
- Enter BIOS/UEFI: Turn on your PC and press the designated key (usually Del, F2, F12, or Esc) to enter the BIOS/UEFI settings.
- Configure Boot Order: Change the boot order to prioritize your USB drive.
- Install the OS: Save the changes and exit BIOS/UEFI. The PC will restart and boot from the USB drive. Follow the on-screen instructions to install the operating system.
- Install Drivers: Once the OS is installed, you’ll need to install drivers for your components, especially the GPU and motherboard. You can usually find these drivers on the manufacturers’ websites.
Step 7: Testing Your New PC
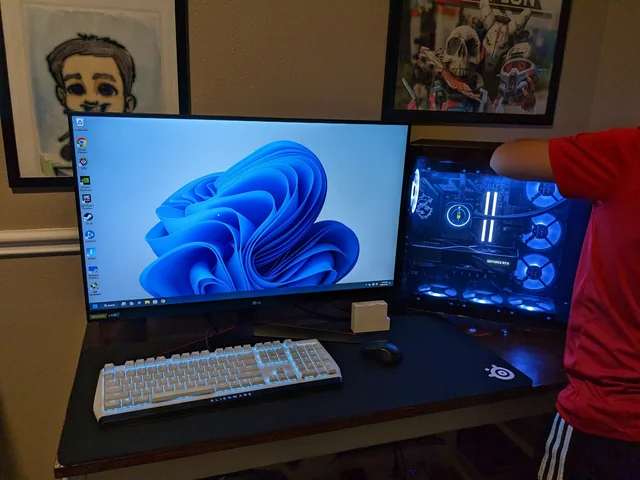
Congratulations! You’ve built your own gaming PC. Now it’s time to test it.
- Run Benchmark Tests: Use benchmark software to check the performance of your CPU and GPU.
- Play Games: Launch some of your favorite games and see how they run at your desired settings. Monitor frame rates and temperatures.
- Monitor Temperatures: Ensure your components are not overheating. You can use monitoring software to track temperatures.
My Personal Experiences and Insights
Building a PC for the first time can seem daunting, but it’s a rewarding experience. I remember the slight nervousness I felt when installing my first CPU, but the satisfaction of seeing the system boot up for the first time was incredible. Over the years, I’ve learned that patience is key, and don’t be afraid to consult online resources or ask for help if you get stuck. The PC building community is generally very supportive. One of the biggest lessons I’ve learned is that investing a little extra in a good quality power supply is always a wise decision, as it protects your other components. Also, good cable management not only looks better but also improves airflow, which can impact performance and longevity.
Conclusion
Building a budget gaming PC is achievable with careful planning and research. By understanding the key components, shopping smart for deals, and following the assembly steps methodically, you can create a powerful gaming machine that fits your budget. Enjoy the process, and welcome to the world of PC gaming on your own custom-built rig!