News
Gadgets
Gaming
Apps
Accessories
Business
Editorials
How to
How to
7 posts
By
Alice Jane
June 20, 2025
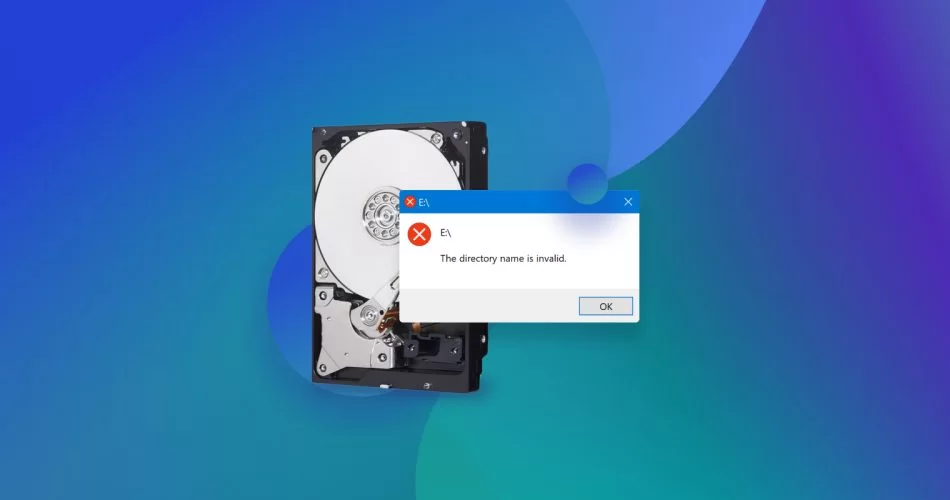
How to Fix Corrupted USB or Hard Drive in Windows
How to
By
Alice Jane
June 4, 2025
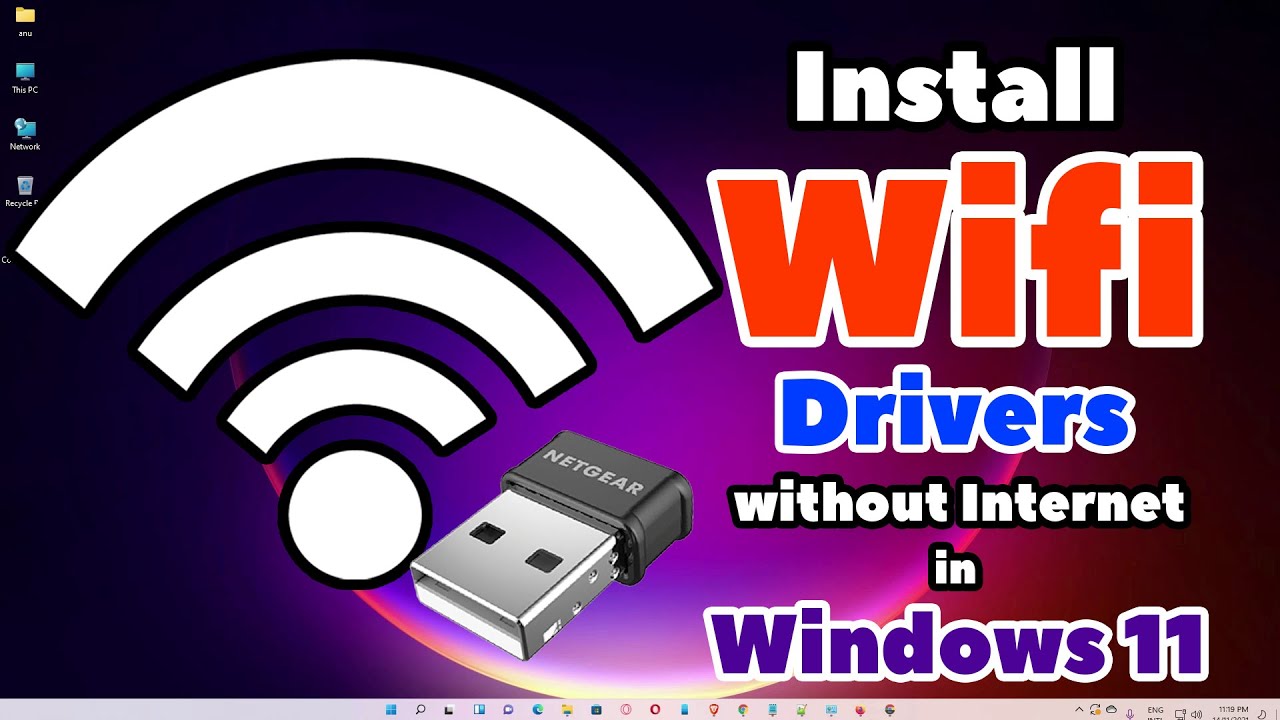
How to Install Drivers Without Internet in Windows
How to
By
Alice Jane
May 23, 2025
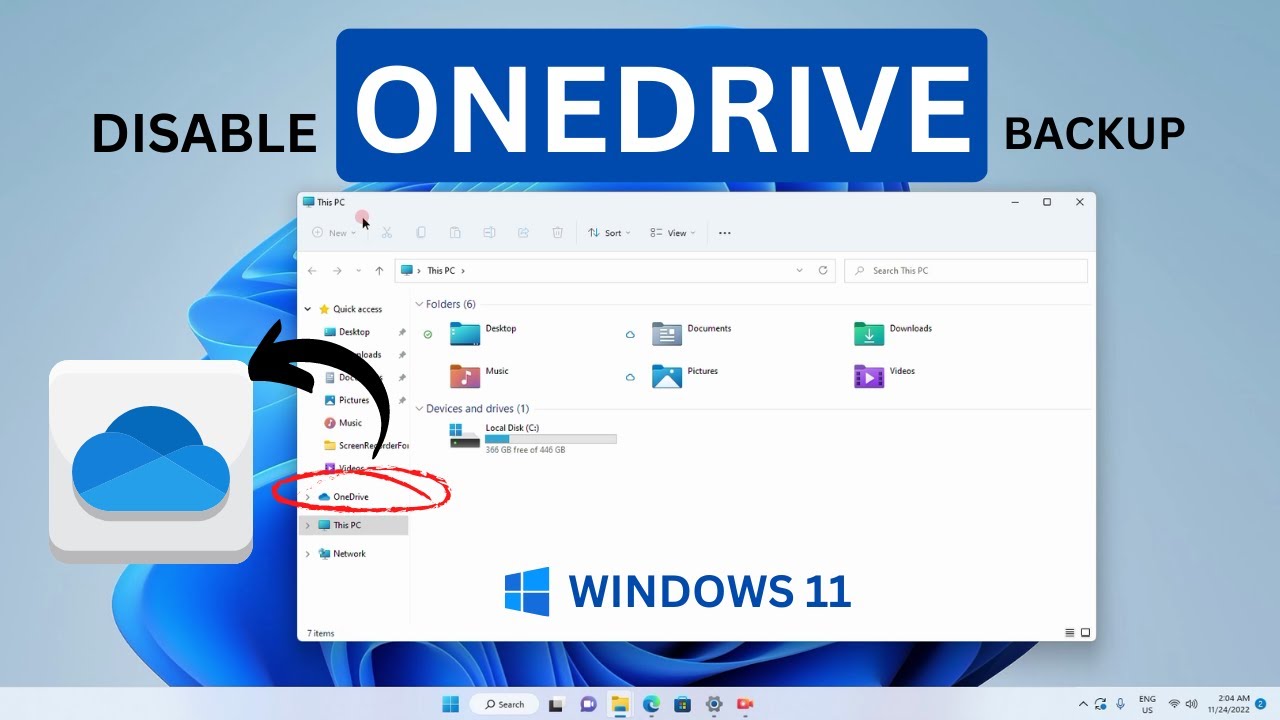
How to Disable OneDrive Sync on Windows
How to
By
Allen Parker
April 16, 2025
How to Write SEO-Friendly Blog Posts in WordPress
How to
By
James Miller
April 10, 2025
How to do local SEO for small businesses
How to
By
Kanisha Parks
March 28, 2025
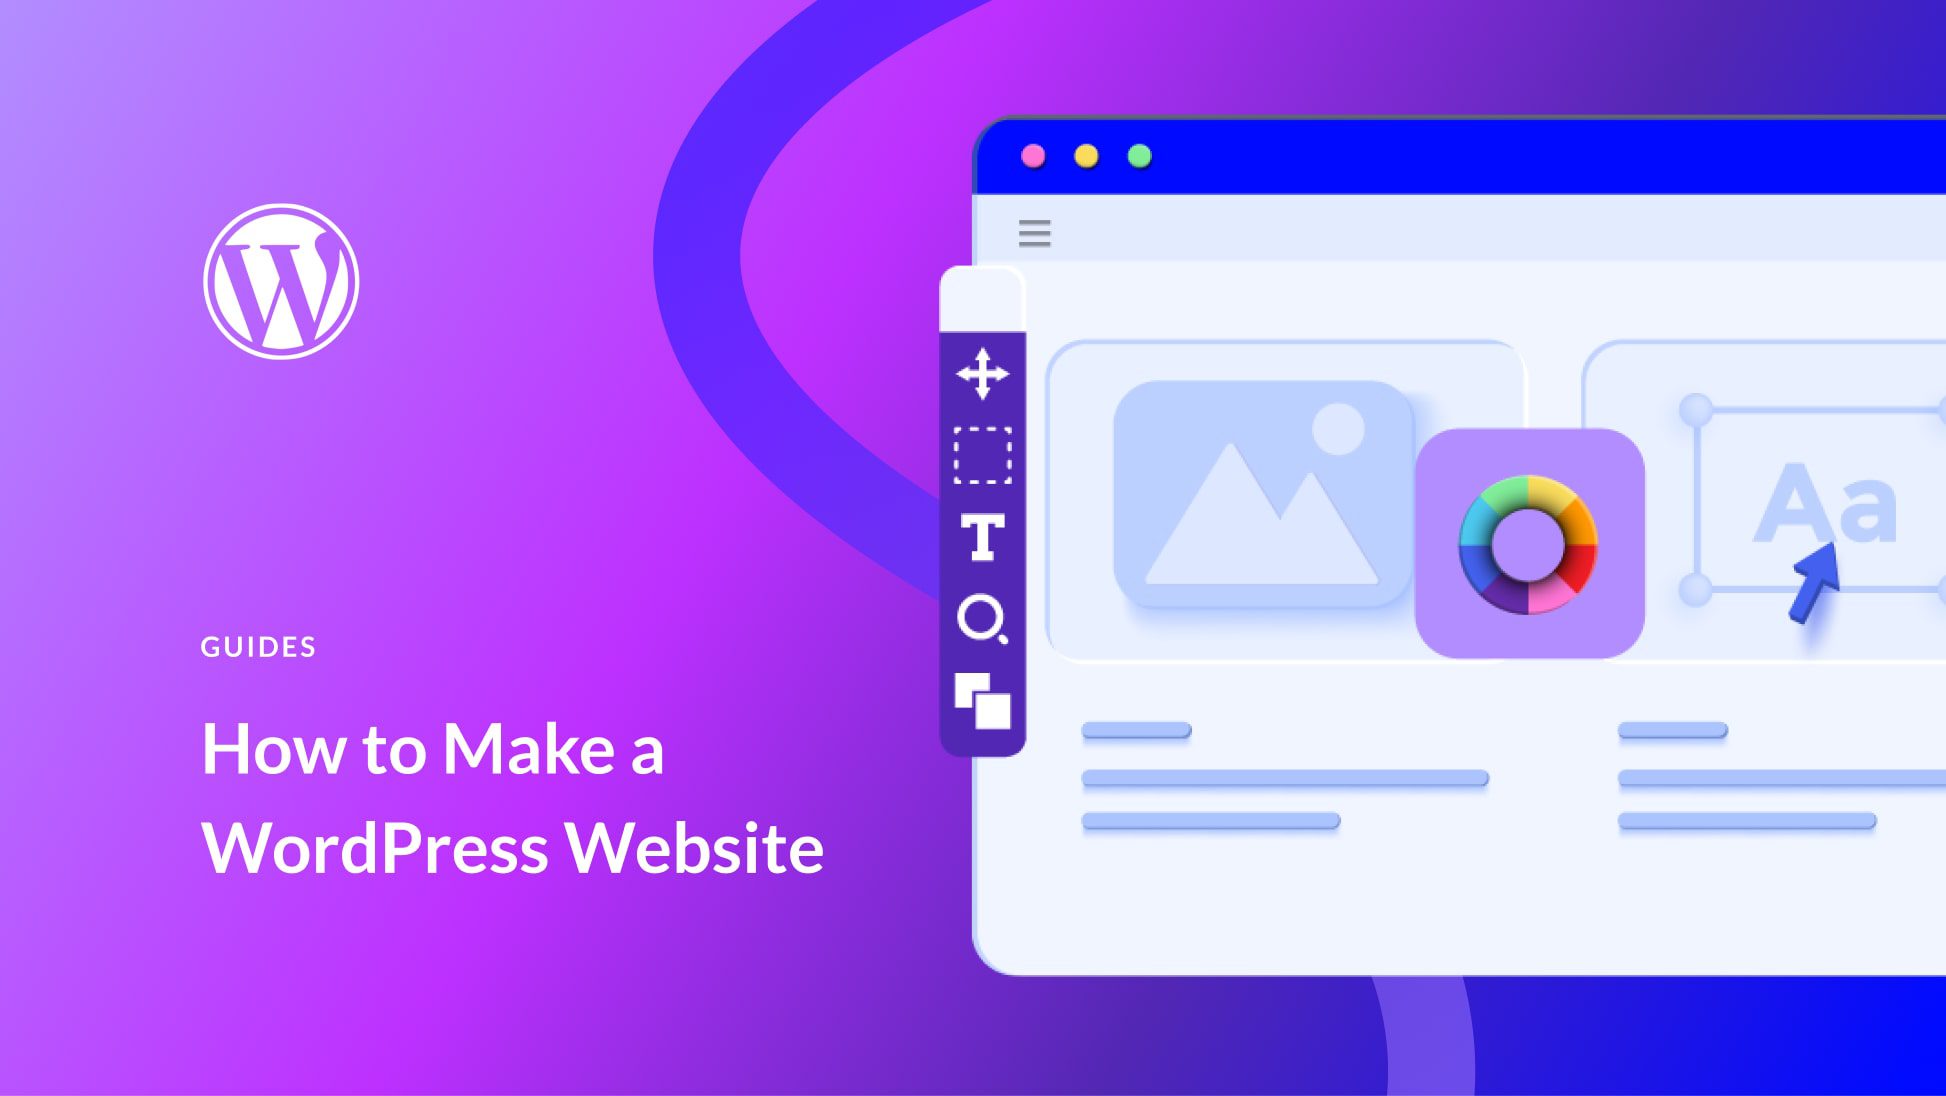
How to Create a Website with WordPress
How to
By
James Miller
January 20, 2025
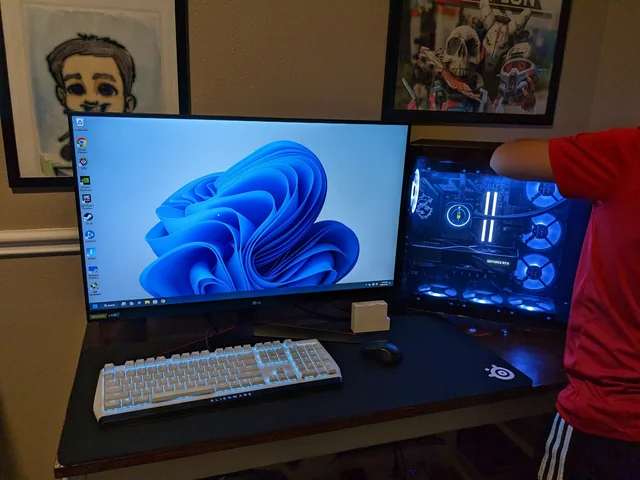
How to Build a Custom Gaming PC on a Budget
Gadgets
How to