News
Gadgets
Gaming
Apps
Accessories
Business
Editorials
How to
Editorials
18 posts
By
Alice Jane
July 15, 2025
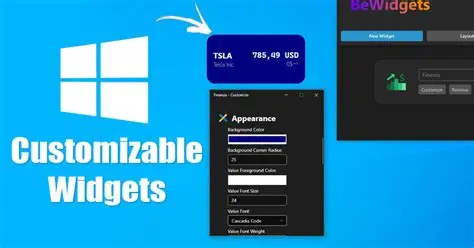
How to Customize Windows Widgets with Third-Party Sources
Editorials
By
Alice Jane
June 28, 2025
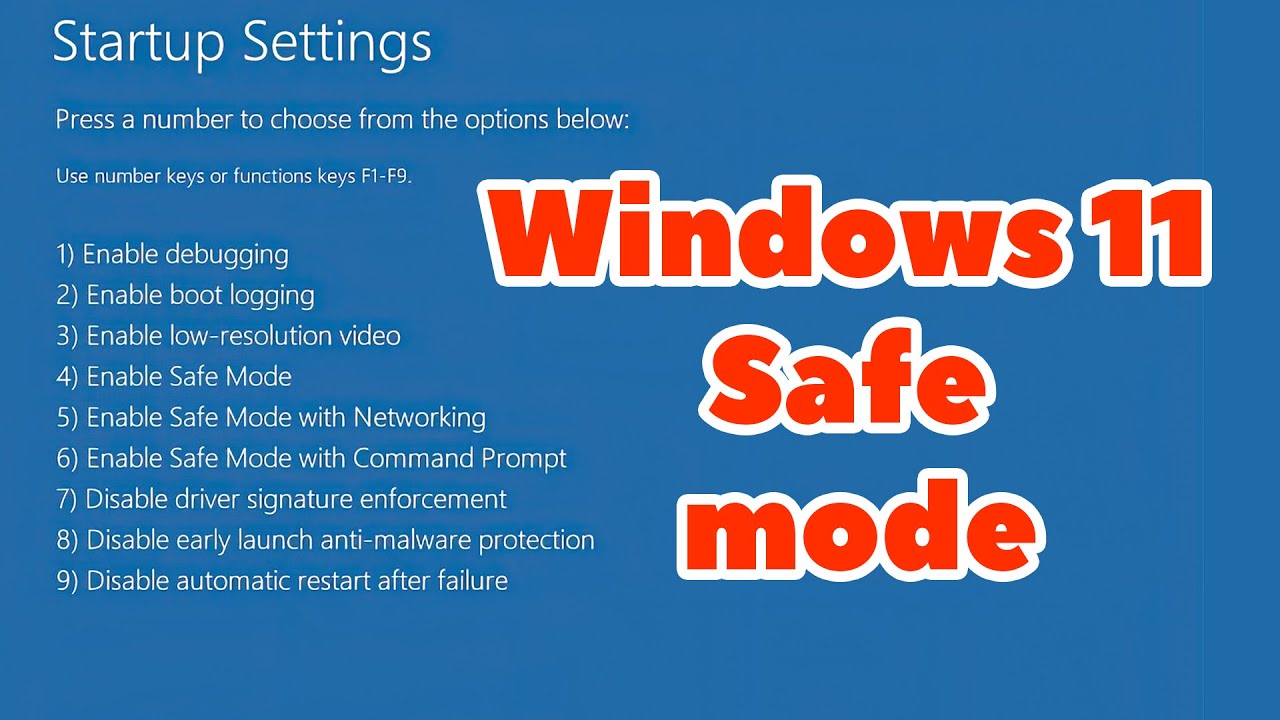
How to Boot Windows in Safe Mode
Editorials
By
Alice Jane
June 24, 2025
How to Use your Laptop as a Second Screen
Editorials
By
Alice Jane
June 13, 2025
How to Fix Display Flickering in Windows
Editorials
By
Alice Jane
June 12, 2025
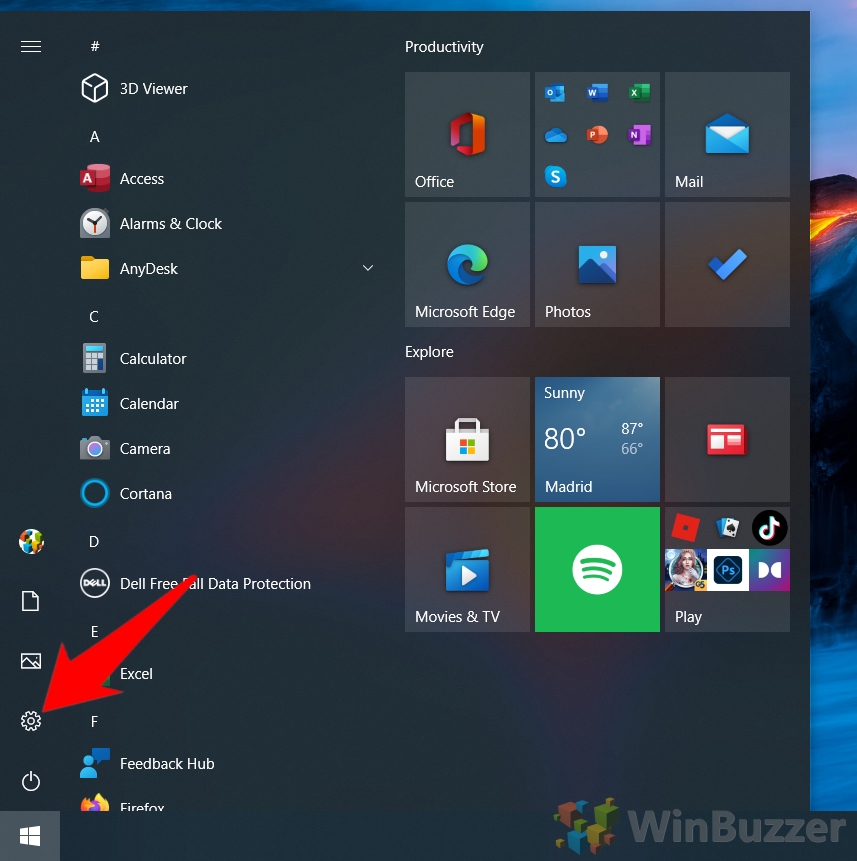
How to Stop Automatic Restart After Updates in Windows
Editorials
By
Alice Jane
June 11, 2025
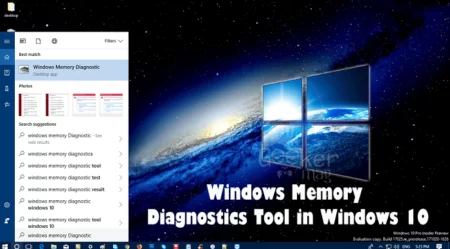
How to Run a Memory Diagnostic on Your Windows Computer
Editorials
By
Alice Jane
June 10, 2025
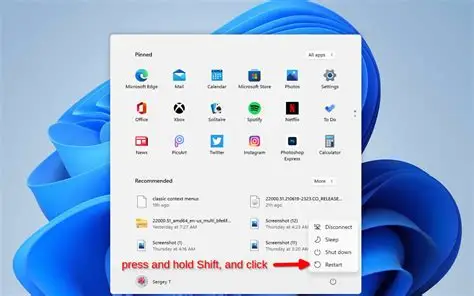
How to Use Advanced Startup Options in Windows 11
Editorials
By
Alice Jane
June 10, 2025
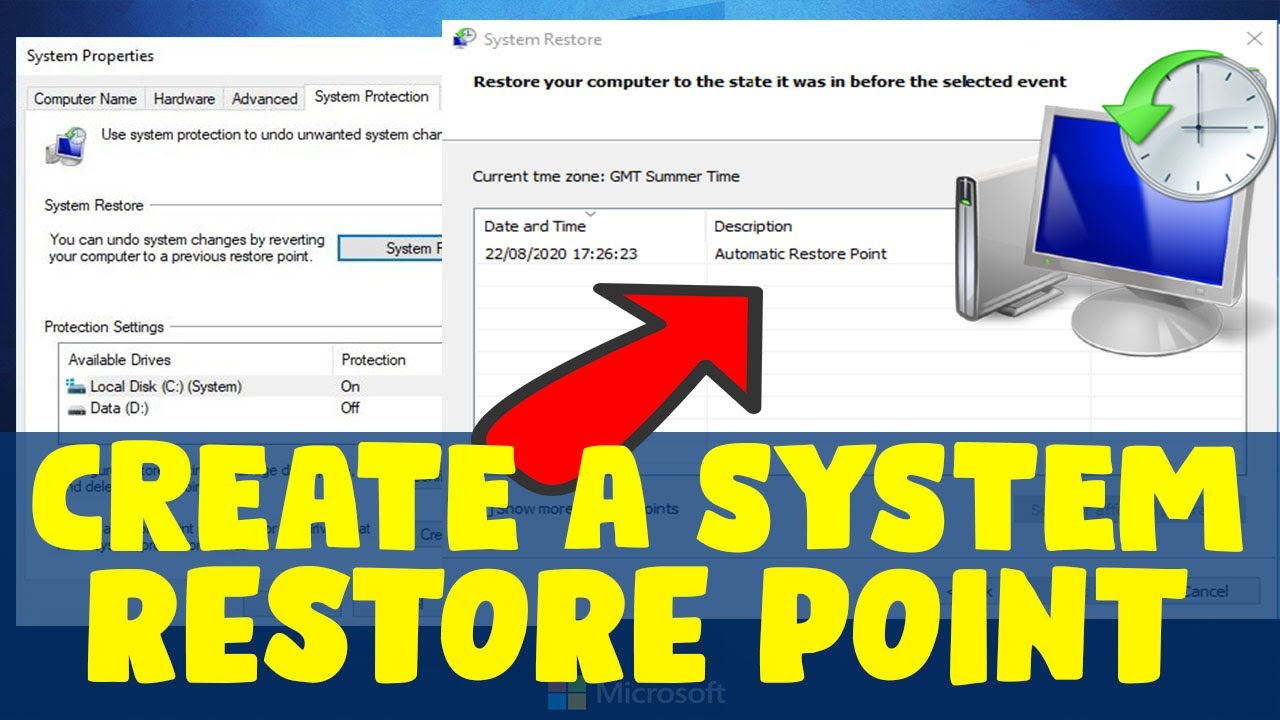
How to Create a Restore Point in Windows 10
Editorials
By
Alice Jane
June 6, 2025
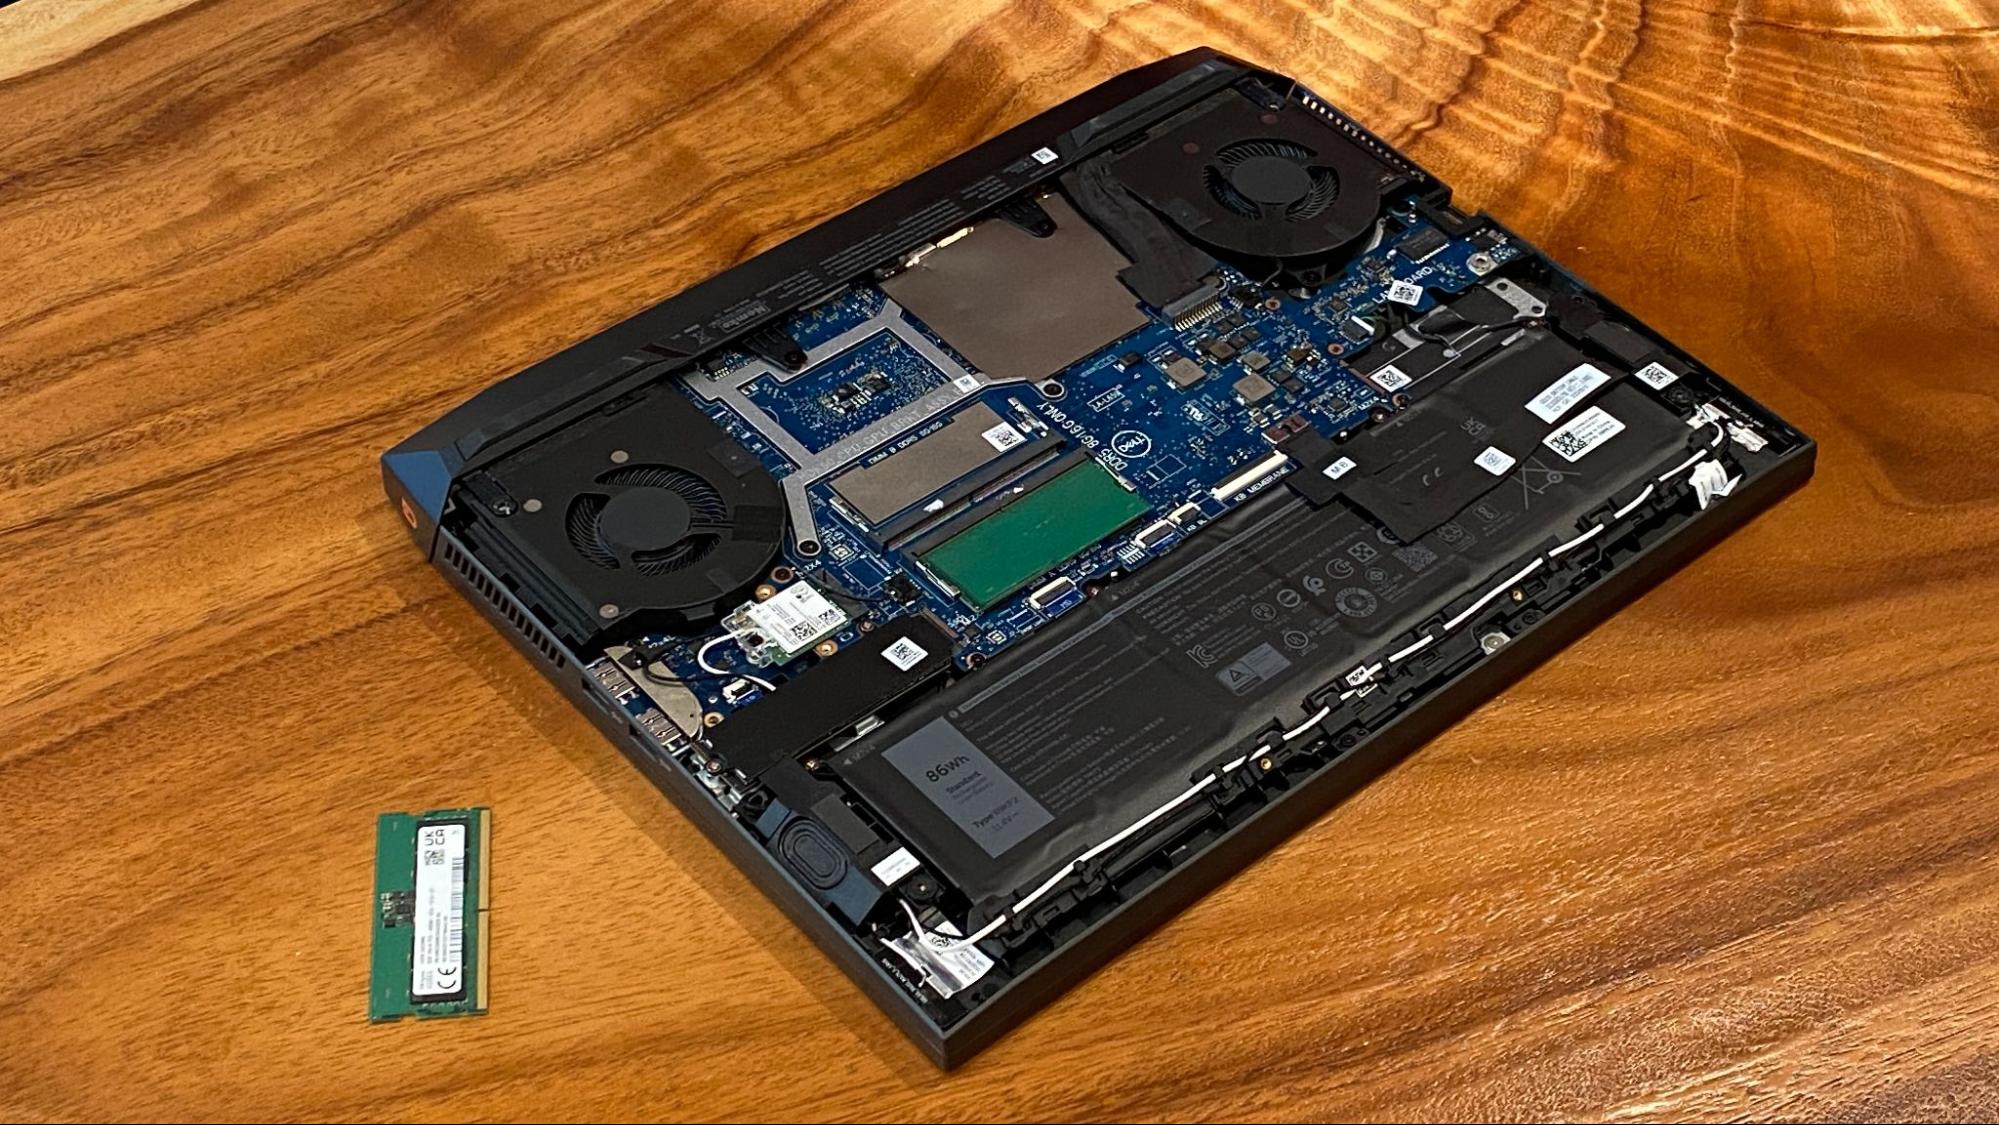
How to Check If your laptop Supports RAM Upgrade
Editorials
By
Alice Jane
May 21, 2025
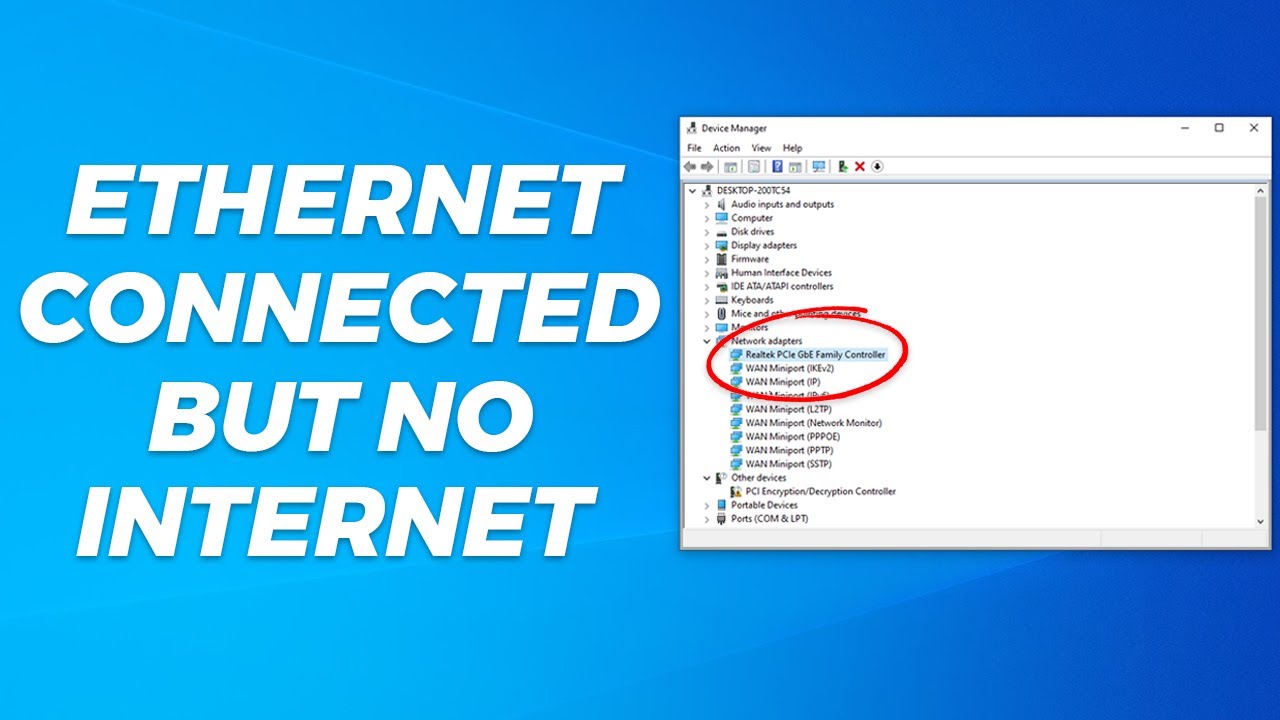
How to Fix “No Internet” Issue in Windows with Ethernet
Editorials
By
Alice Jane
May 6, 2025
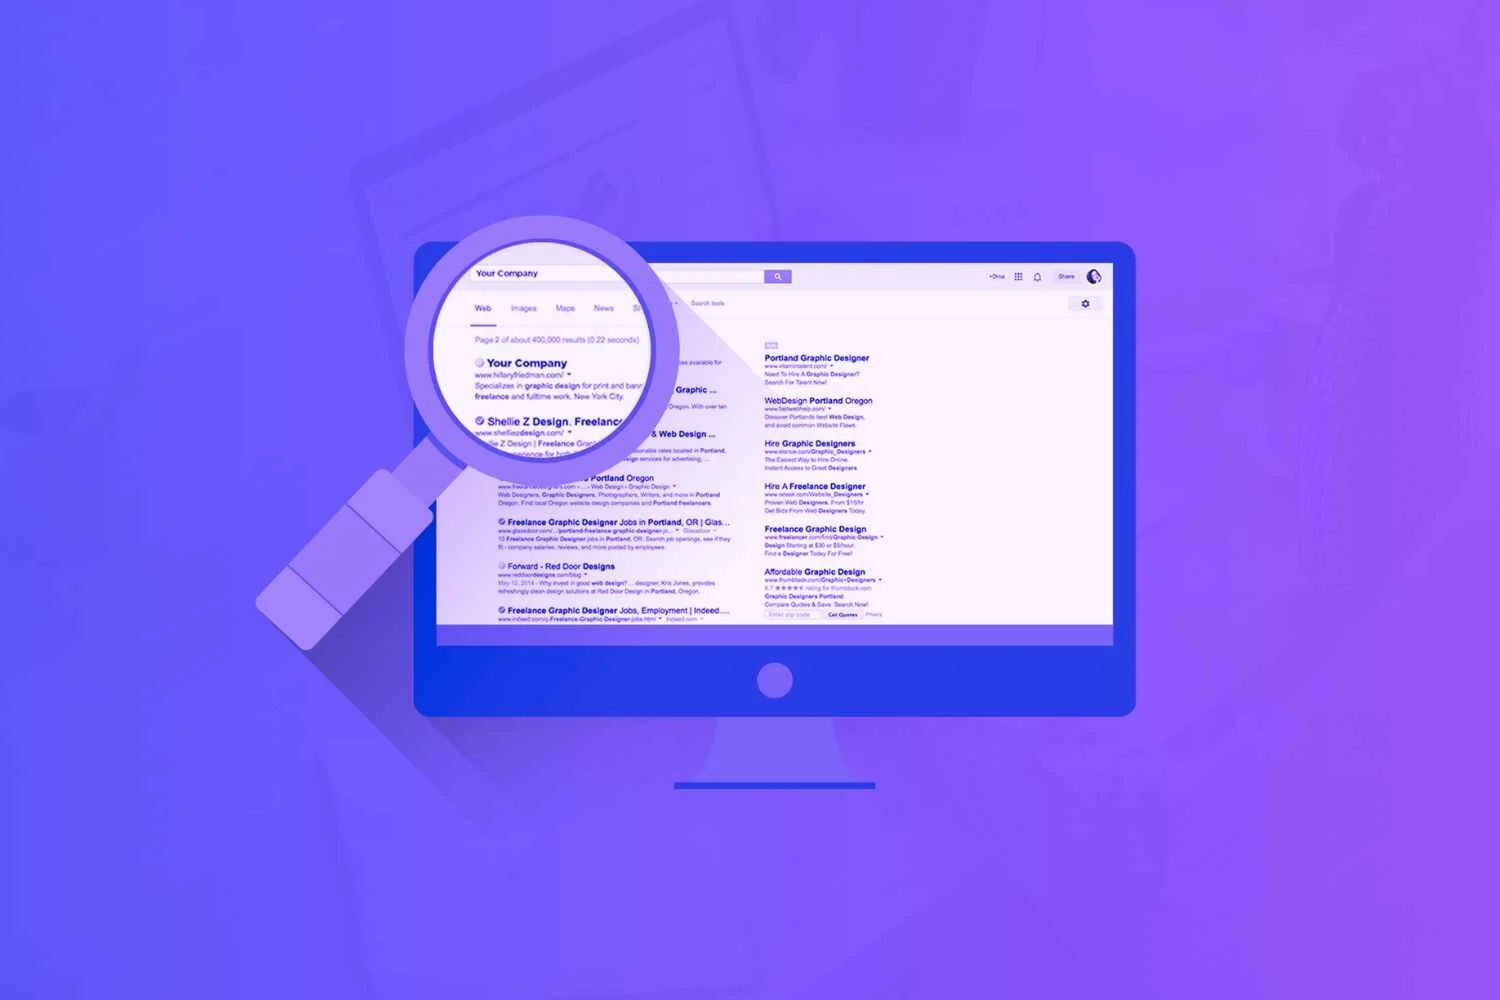
How to Create Meta Descriptions with AI for SEO
Editorials
By
Alice Jane
May 5, 2025
How to Improve Content Readability for SEO
Editorials