The Group Policy Editor in Windows is a powerful tool that lets you manage advanced system settings without needing third-party utilities or registry hacks. While it’s commonly used for security and administrative control, it can also be configured to improve performance on Windows 10 and Windows 11 systems. I’ve personally used Group Policy tweaks across several Windows setups—especially on older laptops and professional workstations—to reduce resource consumption, streamline background services, and increase overall responsiveness. In this guide, I’ll show you how to safely tweak key performance settings using Group Policy Editor, step by step.
What Is Group Policy Editor?
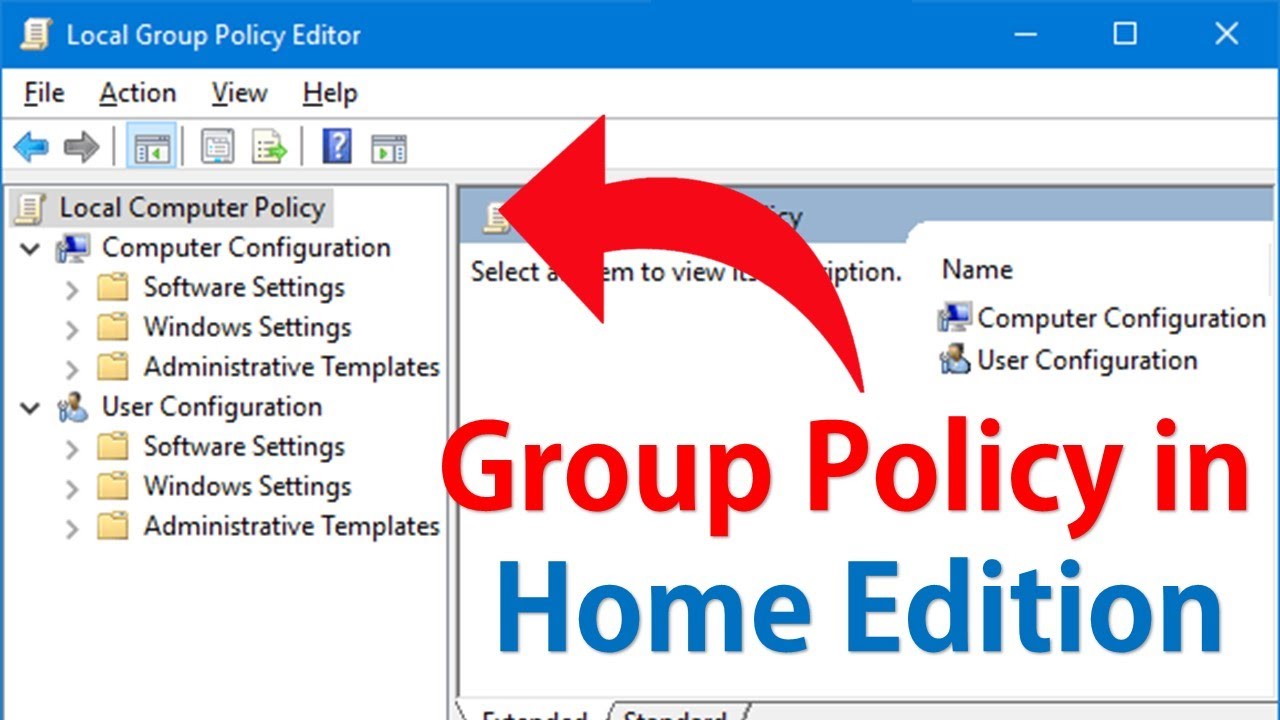
Group Policy Editor (gpedit.msc) is a built-in Windows management console that allows users—especially administrators—to configure system behavior and enforce policies. It is available in Windows Pro, Enterprise, and Education editions.
Note: Group Policy is not available in Home editions unless manually enabled (not officially supported).
Why Use Group Policy to Improve Performance?
Modifying performance settings via Group Policy:
- Requires no third-party tools
- Applies at the system level, not just per user
- Is safer than registry editing (with rollback capability)
- Offers persistent configuration across restarts and updates
You can reduce background processes, disable unnecessary animations, and prioritize active applications to get better performance on older hardware or under heavy workloads.
Before You Begin
- You must be signed in as an Administrator
- Consider creating a System Restore Point before making changes
- After changes, use gpupdate /force to apply policies immediately
Step-by-Step: Tweak Performance Settings via Group Policy
- Open Group Policy Editor
- Press Windows + R, type gpedit.msc, and hit Enter
- The Local Group Policy Editor will open
- Optimize Visual Effects
Disabling visual effects can reduce GPU and CPU usage, especially on systems with low RAM or integrated graphics.
Path:
Computer Configuration > Administrative Templates > System > Performance Control
Steps:
- Double-click Turn off Windows visual effects
- Set to Enabled
- Select specific effects to disable (e.g., menu fade, taskbar animations), or choose to turn off all visual effects
- Click Apply, then OK
This setting removes unnecessary animations that can slow down UI responsiveness.
- Disable Background Apps
Preventing background apps from running helps conserve memory and CPU cycles.
Path:
Computer Configuration > Administrative Templates > Windows Components > App Privacy
Steps:
- Double-click Let Windows apps run in the background
- Set to Enabled
- Choose Force Deny from the drop-down
- Apply changes
This stops Universal Windows Platform (UWP) apps from running silently in the background.
- Prioritize Foreground Applications
You can prioritize CPU resources for applications you are actively using.
Path:
Computer Configuration > Administrative Templates > System > Processor Scheduling
Steps:
- Double-click Optimize processor scheduling for foreground applications
- Set to Enabled
- Apply and reboot if needed
This ensures active windows and apps get priority over background services.
- Turn Off Windows Tips and Consumer Features
Tips and consumer features consume system resources and bandwidth unnecessarily.
Path:
Computer Configuration > Administrative Templates > Windows Components > Cloud Content
Steps:
- Double-click Do not show Windows tips
- Set to Enabled
Then go to:
Computer Configuration > Administrative Templates > Windows Components > Content Delivery Manager
- Enable: Turn off Microsoft consumer experiences
These settings disable pop-ups and downloads related to promotional content.
- Delay or Block Scheduled Maintenance Tasks
Windows performs regular maintenance tasks in the background which can consume resources.
Path:
Computer Configuration > Administrative Templates > Windows Components > Maintenance Scheduler
Steps:
- Double-click Prevent scheduled maintenance during policy-defined active hours
- Set to Enabled
- Set active hours to match your peak usage time
- Apply changes
This ensures background updates or diagnostics don’t interrupt you.
- Disable Windows Error Reporting
Error reporting can slow down systems and generate unwanted network activity.
Path:
Computer Configuration > Administrative Templates > Windows Components > Windows Error Reporting
Steps:
- Double-click Disable Windows Error Reporting
- Set to Enabled
- Click Apply and OK
This does not affect your ability to manually check system issues but stops automatic uploads.
- Reduce Search Indexing Load
Search indexing can tax disk usage—especially on HDD systems.
Path:
Computer Configuration > Administrative Templates > Windows Components > Search
Steps:
- Double-click Do not allow locations on removable drives to be added to libraries
- Enable the setting
Optionally:
- Disable Indexing of encrypted files
- Set indexing to Classic mode to reduce CPU load
- Control Scheduled App Updates
UWP apps auto-update in the background, adding overhead.
Path:
Computer Configuration > Administrative Templates > Windows Components > Store
Steps:
- Double-click Turn off Automatic Download and Install of updates
- Set to Enabled
- Apply and exit
This stops automatic app updates via Microsoft Store.
- Apply Group Policy Changes
After all changes:
- Press Windows + X, choose Command Prompt (Admin) or Windows Terminal (Admin)
- Run the following command:
bash
CopyEdit
gpupdate /force
You can also reboot your computer for full application.
Tips for Best Results
- Combine Group Policy tweaks with Startup program control and disk cleanup
- Recheck Group Policy settings after major Windows Updates
- Use Task Manager and Resource Monitor to observe improvements
- Avoid disabling features critical to updates or security
Common Mistakes to Avoid
- Don’t disable core services like Windows Update or Defender through Group Policy unless absolutely necessary
- Avoid setting overly restrictive policies that may block needed features
- Keep documentation of all changes for future rollback
- Always test changes on a non-critical system if used in a business environment
Conclusion
Tuning Windows for performance using Group Policy Editor is a powerful yet underused approach. It’s especially helpful for older systems or users who want control without relying on third-party utilities. By disabling visual effects, background apps, error reporting, and unnecessary indexing or updates, you can significantly improve responsiveness and reduce resource usage.
I’ve applied these policies on many low-spec machines for better speed and fewer interruptions, and the results are consistently noticeable. Take a few minutes to apply the changes, and you’ll likely see your system running leaner and smoother.